In last lecture Neil talk about embedded programming. This is one of the tough task for me which excite me lot. In this assignment,Learning out come for this assignment will be Datasheet reading for making code.
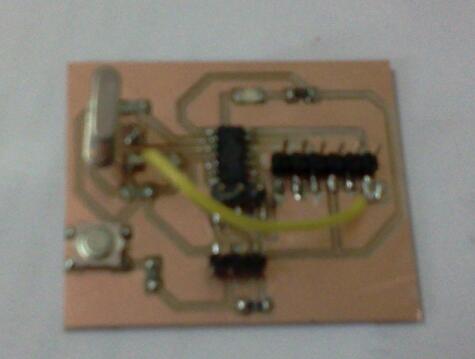
I used previous week hello board designed in Eagle where I have added LED and button for do embedded programming.
For this assignment I read data sheet for attiny44 and then as per datasheet I start thinking about programming. After reading datasheet I comes to know that in the 14 pin Attiny44 microcontroller there is IC VCC-Power and GND-Ground pins, also PB0-PB3 is the i/o Port B with internal pull up register and PA0-PA7 is the i/o port A with internal pull up register. The LED is connected to the PA3 pin with current limiting resistor.
I did programming on Attiny44 microcontroller as LED should Glow ON-OFF providing delay of 1000 millisecond in a loop. See below for code file.
F_CPU is required to be provided for using delay.h. It is 1MHz in this code.
#define F_CPU 1000000
Then we define PIN, PORT and PORT direction for the LED:
#define PIN_LED PA3#define PORT_LED PORTA#define PORT_DIR_LED DDRABecause LED has been connected over Port A, Pin 3 (PA3). Set this pin to be Output pin.
PORT_DIR_LED = 1<<PIN_LED;
In the main loop we change the state of PA3 to opposite of previous state (toggle). Then add delay defined previously to take this toggled state ahead for a while.
PORT_LED ^= 1<<PIN_LED;
_delay_ms (numDelys_ms);
First I check AVR dude was installed there or not with avrdude from terminal on ubuntu machine. If you are working on windows machine then then please go as per below:
avrdude and so you can check it AVR dude installed or not.First you have compile the C program into a .hex file for uploading to the atttiny. I created .hex file with following avr-gcc compiler commands. Process is C to OBJ to ELF to HEX:
avr-gcc -g -Os -mmcu=avr25 -D__AVR_ATtiny44__ -c blinkLED.cavr-gcc -g -mmcu=avr25 -D__AVR_ATtiny44__ -o blinkLED.elf blinkLED.oavr-objcopy -j .text -j .data -O ihex blinkLED.elf blinkLED.hexFinally I upload hex file to attiny using a USB programmer:
avrdude -c dasa -p t44 -P /dev/ttyUSB0 -e -U flash:w:blinkLED.hex
When I am doning this I occured error that AVR dude 'failed'. So almost 2-3 time I check pin connection but still that error coming on screen. Then I check continuity test and found that terminal pin get short during this process.
So connect properly all pin connection and I burn code in it OK but still LED was not blinking. I check then all circuit components with continuity and that time I found that my LED get burn because of over heating while soldering.
Then I change my LED and connect new LED and check again so circuit working and start blinking. Check video below.